
Leak Detections & Repairs
OR
Two ways to check for a leak
**Before starting any simple leak test make sure your autofill is turned off if you have one**
RULER TEST - Easy and Approachable
- Tape a plastic ruler onto the top of the tile line in the pool and mark the water level
- Snap a photo to reference the water level later
- Use our Pool Water Loss Calculator to see what the projected water loss is for evaporation
- Wait 24 hours and compare the water levels
- We recommend a leak detection when water loss is ½ inch or greater over a 24 hour period
- For water loss less than ½ inch over a 24 hour period we recommend periodic bucket testing at least once a week or as you deem necessary and if you begin noticing 1/2in or greater water loss over 24hours contact us for a leak detection.
- Reason: Pools and spas can leak small amounts of water through many different pipe penetrations and material interfaces. These leaks can be very difficult and sometimes impossible to locate.
BUCKET TEST - Tried and True
- Place a piece of tape or mark a line with a permanent marker on the inside of the bucket a few inches from the top.
- Place the bucket on the first step in your pool and fill the bucket with water to the level of the tape inside the bucket.
- Place a piece of tape or mark a line with a permanent marker on the outside of the bucket at the level of the water on the outside of the bucket.
- Snap a photo to reference the water level later
- Use our Pool Water Loss Calculator to see what the projected water loss is for evaporation
- Wait 24 hours and compare the water levels
- If your water loss is greater than what the expected water loss was then, it's time to schedule a leak detection with us!
Take A Look At Our FREE
Pool Water Loss Calculator!
This can help you determine if it's time to reach out for a leak detection or if it's just this Texas heat!
It's Looking Suspiciously Like A Leak...
What's Next?
Three Steps To Leak Repairs

Detect
We determine which PVC plumbing system is leaking

Locate
We locate where the physical leak is using different leak locating technologies

Access & Repair
We access the leaky pipes and make the necessary repairs
Check out a few of our previous repairs!

Visible Water Loss
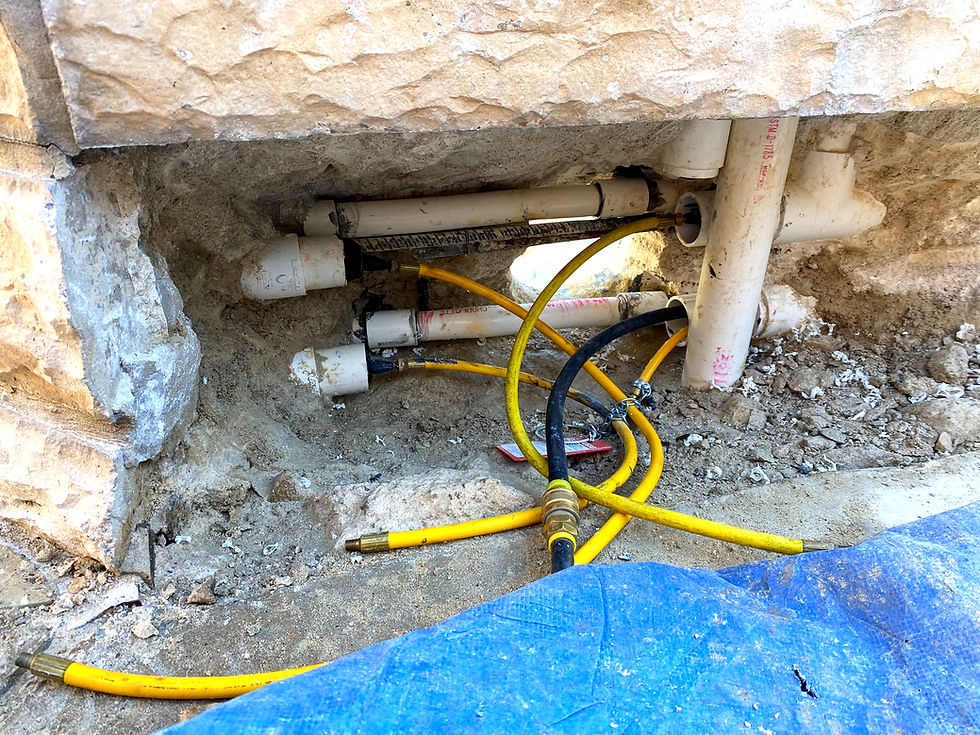
Pressure Testing During Repairs

Replacing The Leaky Pipes
_edited.jpg)
Leaky Plumbing In Pool Wall

Pool Leak Under Concrete Deck

Visible Water Loss
A repair can be an entire excavation project or may involve jackhammering, removing and re-pouring concrete decks and, in some cases, chipping-out and removing sections of the concrete structure.
I Need A Leak Repair,
What Does That Mean?
Once we locate the leak, after testing the water pressure in all water outlets,
we will begin to access the plumbing.
This can mean that we drill through the concrete or decking to reach the pipes.
Once they are located and accessible, we will begin replacing and securing the new plumbing pipes.
After this step, we will run a test to ensure there is no more leaking and that all your water pressure is good to go!
